Planting seeds: Secrets to successful germination
grownandgathered
Seeds. Having trouble germinating seedlings is like eating chocolate while no one is looking, everyone does it, but no one wants to admit it.
When we first started gardening they were a complete mystery. It was a mystery where to get them from. It was a mystery what to do with them once we did. And germinating them was hit and miss. Now, it's flawless. The system is down pat - and we are sharing our secrets of how to make a seed germinate, every time.


Where we are, we are coming to the end of our planting into the greenhouse for the summer to come - making strong seedlings ready to go into the ground. We are also about to plant some seeds directly into the ground, as the soil warmth is finally warm enough from the spring heat (for more information on this, look below in field notes). We will continue to plant little bits into the greenhouse as the season continue, and our next big planting will be in January (early summer) for Autumn planting.
We plant into mushroom waste - it is what it sounds like, a waste product that is being thrown out after growing mushrooms into it. This is the perfect soil consistency for little seedlings to push their way through.
Read on to learn all of our secrets to germinating seedlings. Still have questions? Place them below in the comments section and we will get back to you.
Field notes:
On buying seeds
We only grow heirloom seeds - this is what you want. These are the old varieties of seeds, food that your great-grandparents ate – proven nourishing and delicious for centuries, sometimes millennia. They have not been mucked with, will grow stronger plants and you can save their seed over and over again.
There are some wonderful seed companies around, both at home and abroad and the more diversity we can bring to wherever you are the better we say. Sometimes we need to break our rules on “local” to diversify that locality.
The thing you dont want when purchasing seeds is that they are not hybrid (F1 or F2) or genetically modified (GMO). Plants grown from F1/F2 hybrid seeds will either not set seed for the following year at all or will set seed for a different (but related) plant that you're not going to want (so you can't save these seeds to replant). They are modern plants that your body just isn't as familiar with. And GMO plants are just dicing with danger, they generally just don't behave the same way as heirloom varieties when growing them (e.g. aren't as disease resistantt) and we just have no idea what the effects of genetic modification on our bodies yet, so in our opinion its definitely best to steer clear.
Here's where we mainly buy our seeds from:
Edenseeds.com.au AUS
Greenharvest.com.au AUS
Rangeviewseeds.com.au AUS
Horizonherbs.com US
Rareseeds.com US
On growing seedlings or sowing direct
Once you have your seeds it’s good to know which benefit from a little growing up in the greenhouse before planting out and which should be sown direct. Experience will teach all, but here is a general guide.
DIRECT SOW
- Roots
- Cut-and-come-again greens like rocket, mizuna, chard
- Soft herbs like dill, coriander, parsley and basil
- Beans and peas
GROW UP SEEDLINGS
- Nightshades: Tomatoes, peppers, eggplants, chillies
- Brassicas: Broccoli, cauliflower, cabbage, kale, Brussels sprouts, kohlrabi
- Heading greens like lettuce and radicchio
- Cucurbits: Zucchini, cucumber, pumpkin
- Corn


Guide:
How to grow seedlings
We love our greenhouse, but we think it’s very important to stress that greenhouses were traditionally created to extend the season by growing good strong early seedlings, not to grow mature plants in. We strongly believe that it's best for the environment and our bodies to eat seasonally, which means growing seasonally.
We highly recommend you build yourself a little backyard greenhouse. It’s amazing what you can do with a few secondhand glass doors and some old windows.
What to plant into?
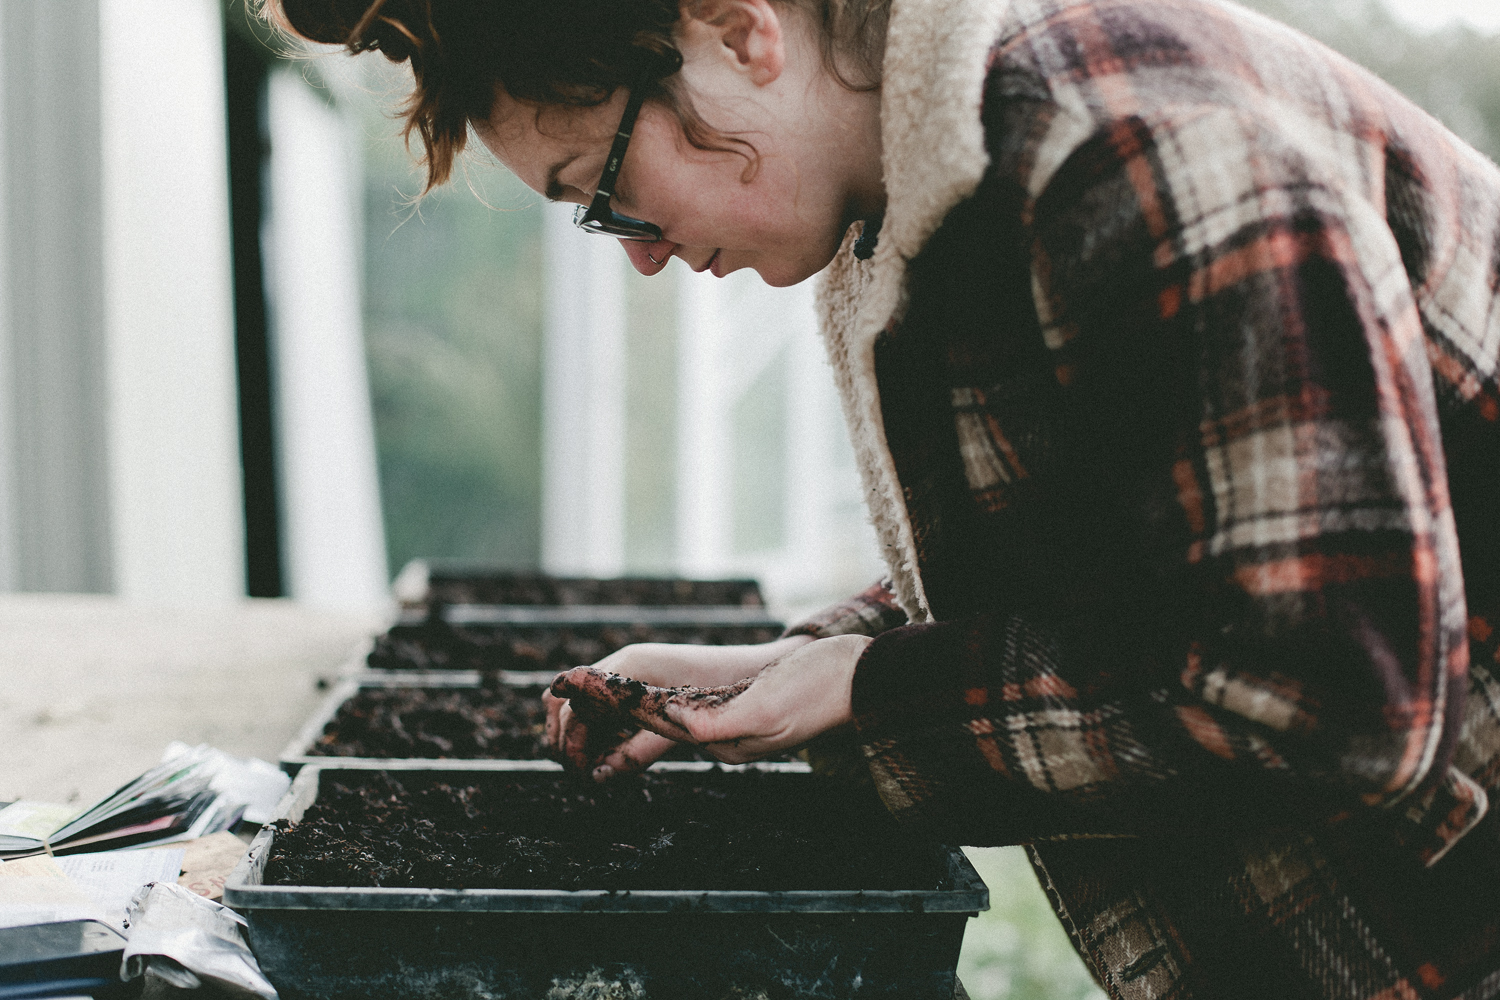
Seedlings are best grown in a compostable pot. We use peat or preferably coir pots but on a home scale used toilet rolls can be great too! We also like to plant in open reusable trays that are often being thrown away (see photos above) - so no pots at all! This method gives seedlings lots of room to mature without getting root-bound.
Do you need potting mix?
Potting mix is a confusing topic for many people. We have raised equally successful seedlings in soil we’ve dug from our garden, in potting mix and in old compost.
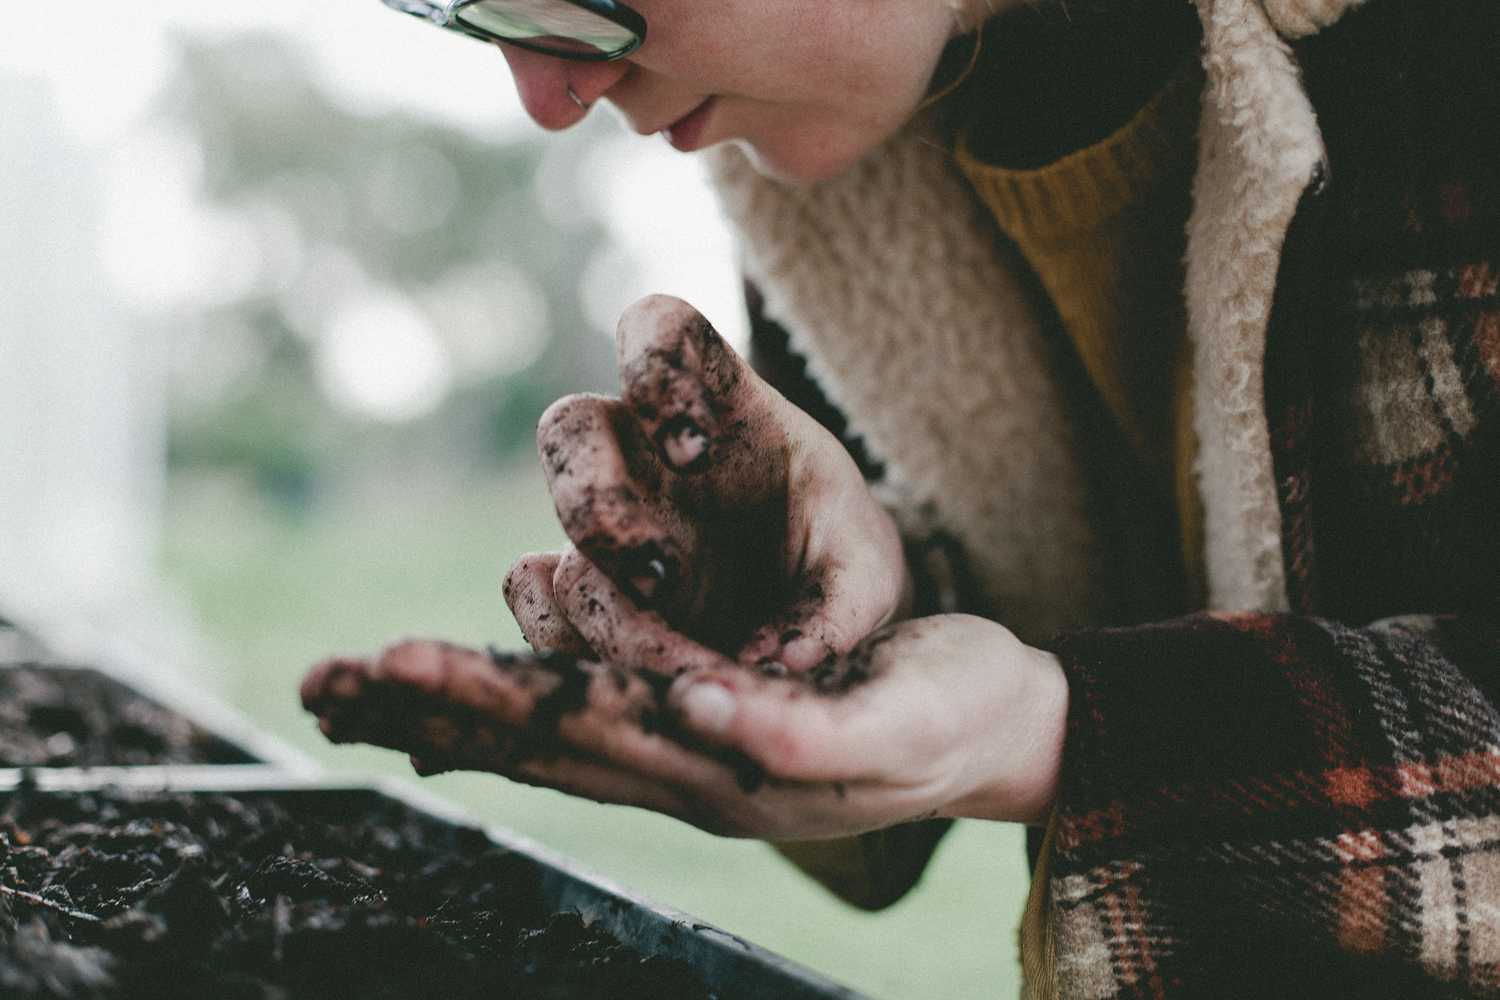
We never use potting mixes from the nursery - they’re full of all kinds of funny stuff that just isn’t present in your garden. We prefer the theory of growing seedlings in as similar a medium as your garden soil - because that’s where they’re going to end up. Lately we’ve been mainly growing in old mushroom compost (that we collect from the mushroom farm up the road) but as we’ve already said the choices are endless. The most important thing is that the soil you choose is really friable (easily crumbled) so that the young roots can penetrate it easily.
Step-by-step guide
- Prepare your trays or pots by filling them with your chosen growing medium - pre-soak the soil so they're already moist for your seeds.
**This is key
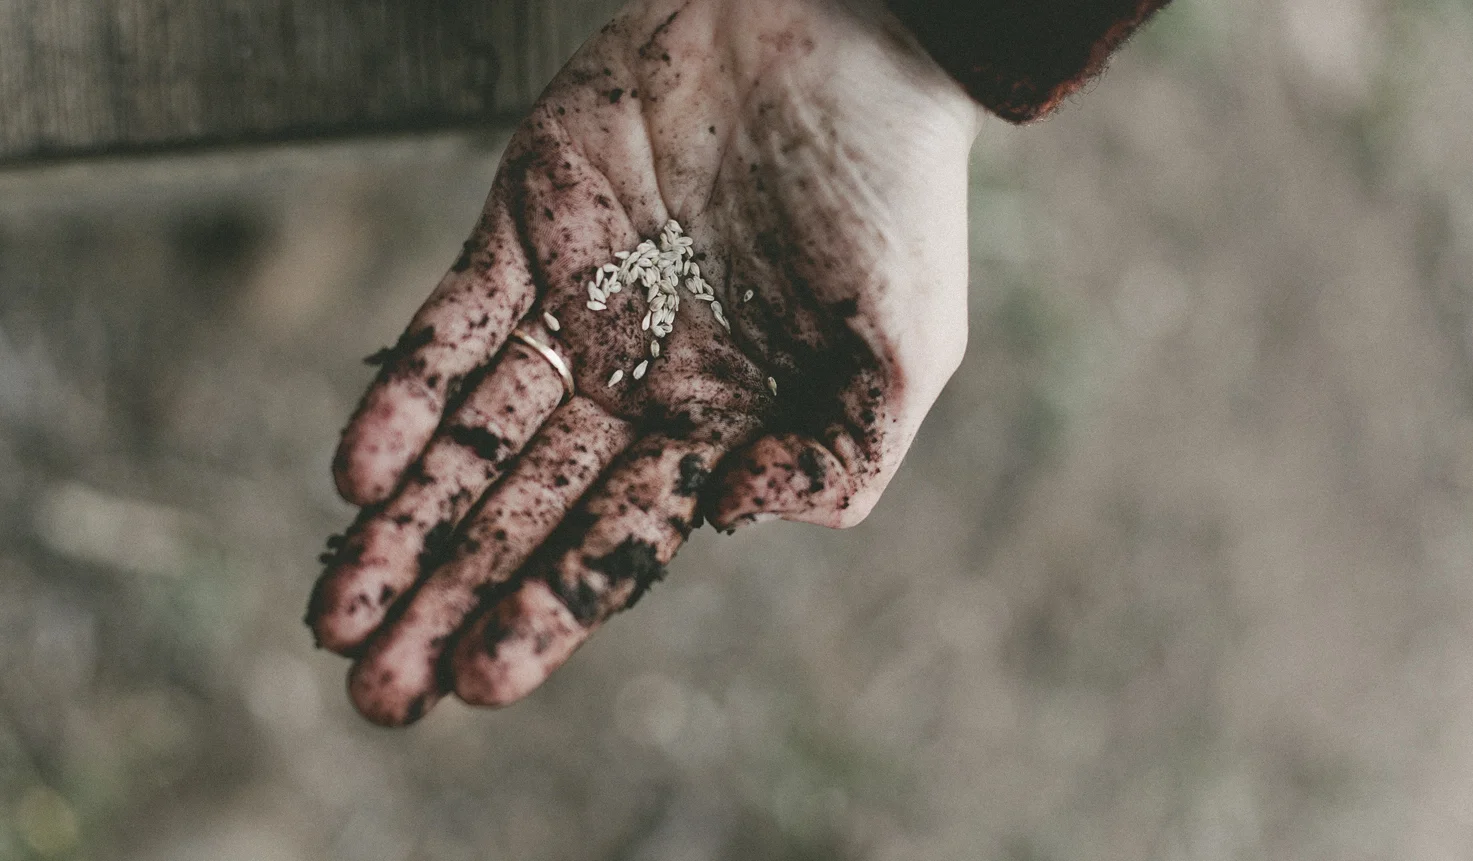
- Place your seeds to a depth equivalent to the length of the seed and brush some earth back over them. For big seeds like pumpkin seeds that's 1 cm, for tiny seeds like oregano you basically sprinkle them on top and brush your hand over them to incorporate with your soil. Try and space seeds out in a grid 3 cm apart. This is completely impossible for tiny seeds, in their case just do your best not to sow too many seeds in each tray.
**DO NOT PRESS DOWN ON THE SOIL.
- When all your seeds are in place give the tray another really deep (but gently applied) soak.
**Germination is the waking up of the dormant seed, so for that to happen requires the seed to get really wet just once, then remain moist until you see the first green shoots appear.
- Place your seedling trays in a warm, protected spot in the sun (like a little greenhouse!) and keep them moist. **This is where most people go wrong. They just wet their trays once, then leave them in a hot place and cross they're fingers. Inevitably the trays dry out before the seedlings have a chance to get going. Tend to your seedling trays every day, giving them a sprinkle of water and keeping them just moist (not soaked!) always.
- Once the little green sprouts are up continue to keep moist, but there is less pressure now because they will have a little taproot down deeper into the moisture zone of the tray.
- After 4-6 weeks, your seedlings will be 15-20cm tall and ready to plant! Prepare a home in your garden and in they go! (More information coming later, or at one of our workshops!)

PS. We have just announced our events coming up for the rest of 2015! Click HERE for details.
We Can't wait to see you all there!
Wondering why we aren't doing vegetable boxes each week for the rest of the year? The answer is we really wish we were. But this season we have decided that we really want to focus on educating and advocating for a sustainable future, and teaching you all to pickle, preserve, plant and nourish your bodies! So keep posted, more to come soon - we are working on lots behind the scenes to make it all happen.