D.I.Y. knife sharpening with Lloyd
grownandgathered
TRADE: SEASONAL CHART <-> KNIFE SHARPENING SKILLS
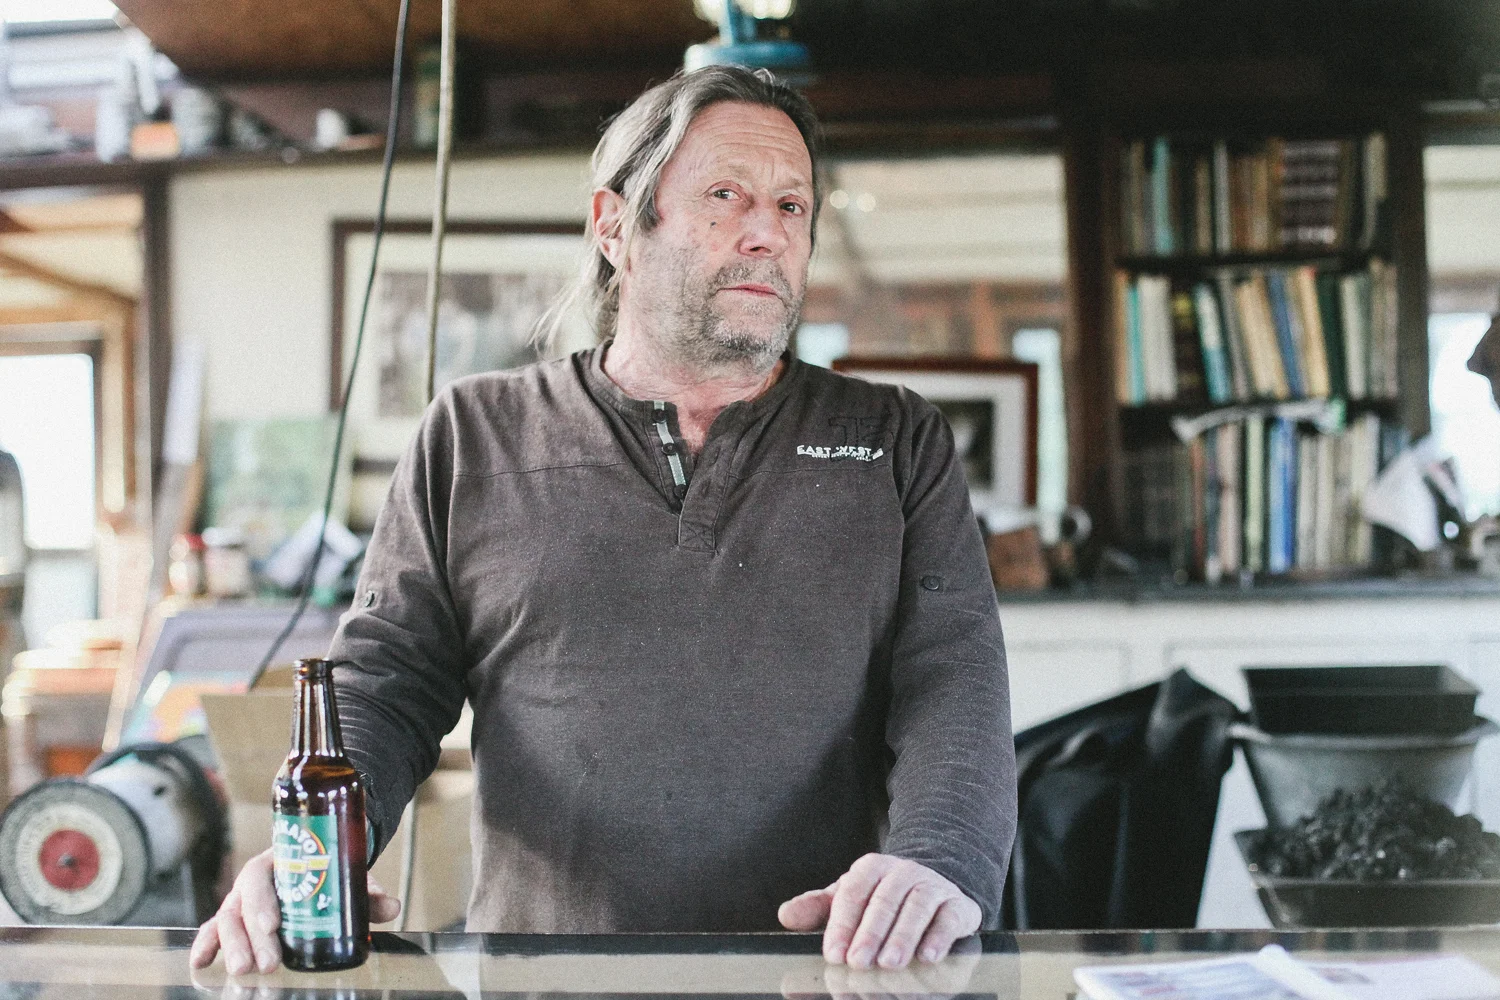
Meet blade-smith Lloyd Franklin. He makes knives. We met Lloyd while driving through a tiny, middle-of-nowhere town on New Zealand’s Coromandel Peninsula (back on our NZ trip in June!). He greeted us with a big smile and a “Howz it goin?”. He was honest, welcoming and happy. He really didn’t care if we bought a knife or not - he was content, doing what he loves, making knives.

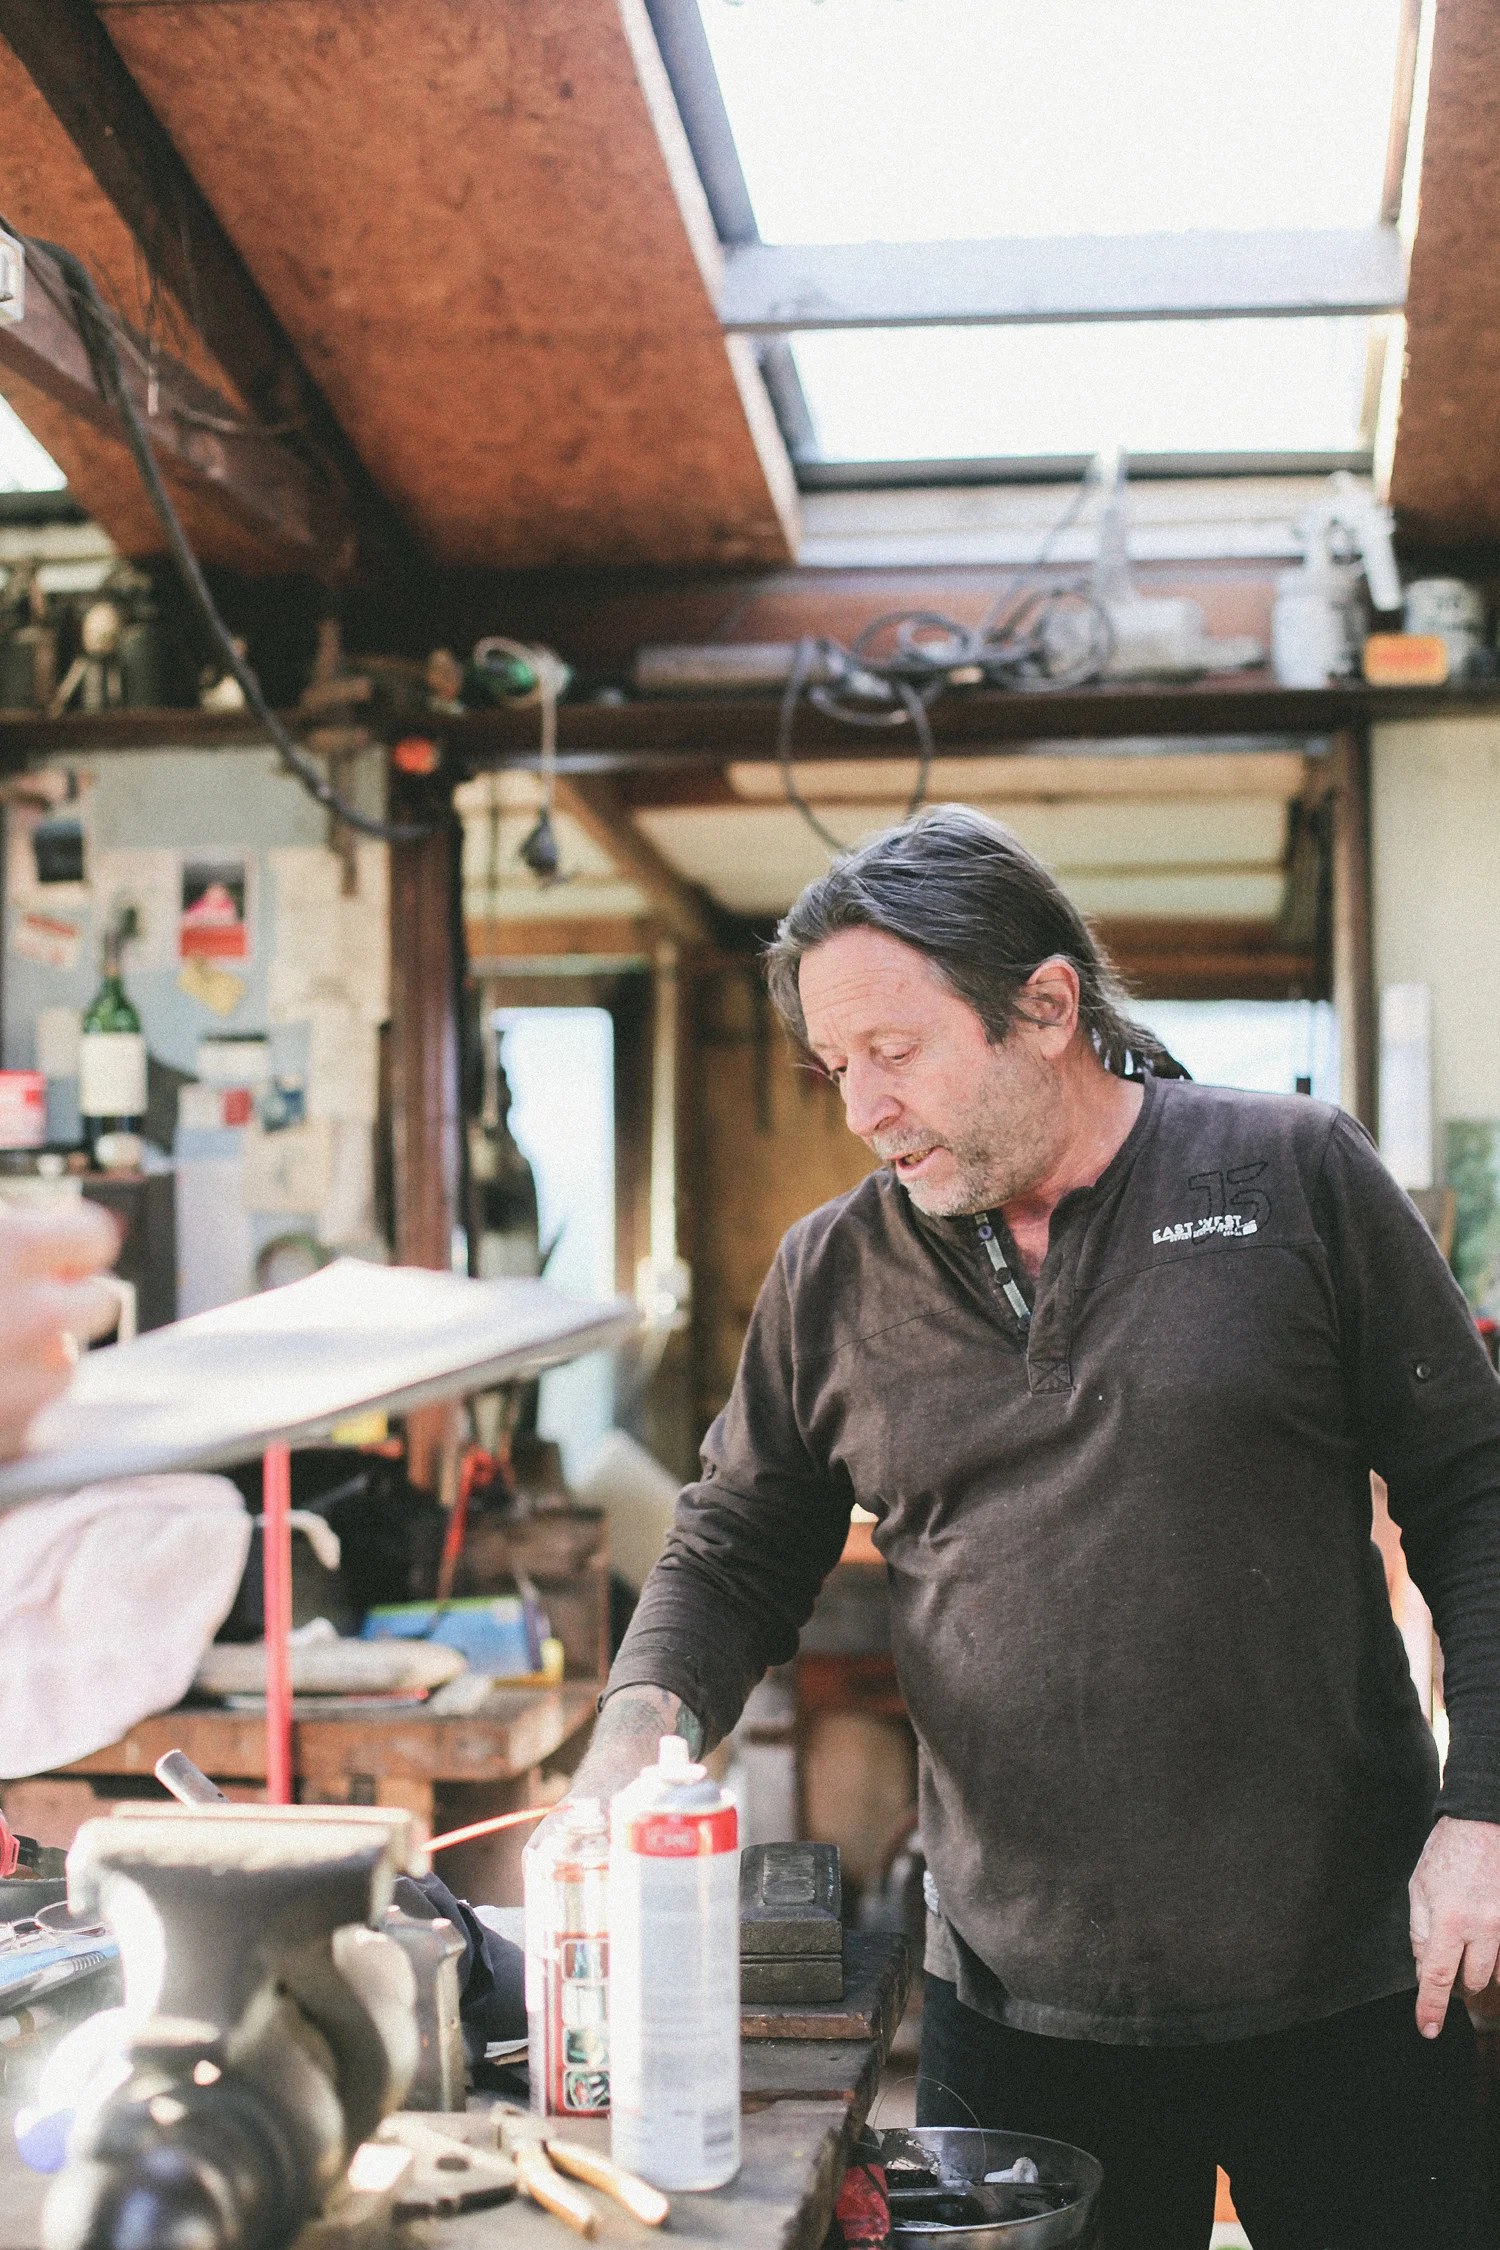
Lloyd hand-forges knives from spent spring coils and foraged handle materials like native timbers, deer antlers and beef-bones. They are clean, neat and built to last a life-time. Multiple life-times in fact. In his spare time, he gardens out the back of his shed – his most proud plant this season - his Brussels sprouts. And they were magnificent.
At 4:00pm sharp every day all his mates come around for a beer and a chat and it was this happy-go-lucky, no bullshit approach to life that appealed to us. He was growing his food and making a living from something he loved. We traded Lloyd a seasonal chart for his low-down on knife sharpening. He told us he would colour it in. We look forward to the photo. Here's what he had to say.


Field notes:
On gimmicks
“First off – those modern diamond encrusted steels are shit. Traditional steels actually used to have north/south magnetic polarity and if you knew what you were doing you’d actually be realigning the steel molecules in the knife to sharpen it – never actually losing any material from the blade. The new diamond encrusted ones are just big round files. They will actively gouge away at your knife until over the years there is nothing left. If you have one throw it in the bin, along with those fancy sharpeners that fix to your bench or wall and you run the blade ‘through’. You’ll be lucky if your knife lasts 10 years with one of those around.”
On traditional steels
Lloyd says if you have a traditional steel, that’s a great tool. But you’ve got to know how to use it. “Most people only sharpen the middle section of their knife. They miss the base of the blade near the handle and they miss the tip. You must make sure to glide the steel all the way along the blade. A good trick is to run a black marker along the blades length on both sides first – this way you can ensure you have run the full length because you’ll rub the marker off.”
On oil-stones
“By far the best way though is to use an oil-stone. They are simpler to use and solid and have both a coarse side for removing chips and a fine side for flattening out the burrs whereas a steel has only one all-purpose surface. If you invest in a good knife, invest in a good oil-stone.”

How-to guide:
The technique for both steels and oil-stones is basically the same though – first we need to remove any chips that have been knocked into the blade since the last sharpening, then we flatten out the burrs, then we polish to a really sharp edge.
1. To remove the chips first run your finger along the edge of the blade on both sides to see where any are.
2. Then with the knife at 15 degrees to the steel or stone (coarse side), glide along the full length of the blade in a flowing motion from base to tip using the whole area of the stone or full length of the steel.
3. For a stone repeat the action a few times on one side, then flip the knife over and do the other side. For a steel constantly alternate from side to side and after a few strokes each side stop to check your progress.
4. Run your finger along the edge of the blade both sides again to see if you have smoothed off all the chips. Once the chips are smoothed we call them burrs – tiny smooth bumps, not sharp edged chips. If you are down to burrs, move onto the next step. If not, repeat step 3 until you have.
5. Flip your stone to the fine side and repeat step 3 for a few more strokes each side until you can’t feel the burrs at all. For a steel, just repeat step 3 as is to accomplish the same, but the result will never be as good on a microscopic level.
6. When you can’t feel any more burrs the final step is to polish the blade edge to a final sharpness. Repeat step 3 on a piece of leather or coarse denim. Repeat up to several times each side.


“A sharp knife is much safer to use than a blunt knife. But only if you know it’s sharp! Be sure to let everyone who uses the knife know what you’ve done.”
